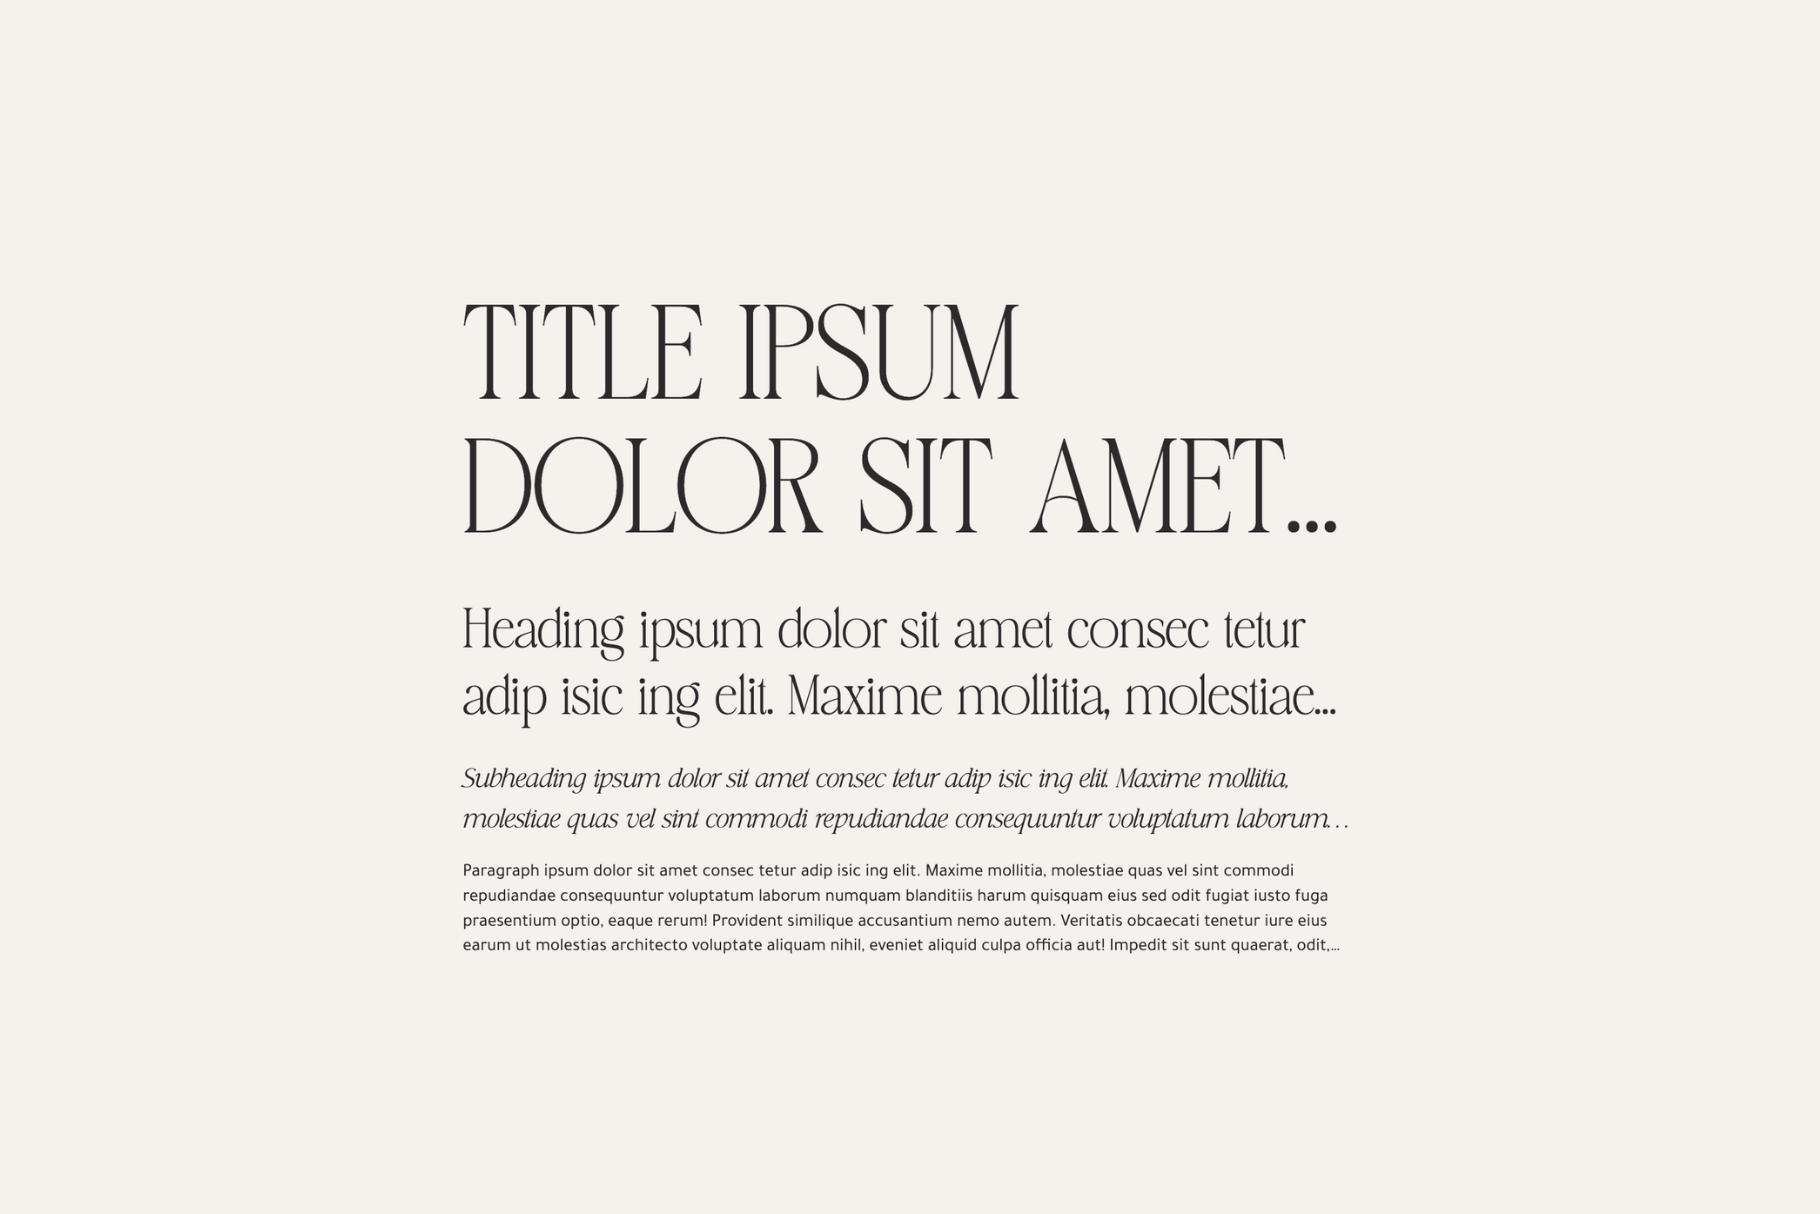
One of the first steps when making your Showit website is editing your font and color design settings. While Showit allows you to use any font from Google Fonts for free, you may want to use your own unique custom fonts that align perfectly with your brand’s identity. That’s probably where you’re getting stuck! In this step-by-step guide, I’ll break down exactly how to easily add a custom font to your ShowIt website, even if you’re not tech-savvy.
Step 1: Purchase Your Desired Custom Font
First, you’ll need to purchase the custom font you want to use on your website. You can find premium fonts on various platforms like Creative Market, FontSpring, Jen Wagner Co. or other font foundries. Once you’ve made your purchase, ensure that you select the web font version of the font.
Step 2: Download and Extract the Font Files
After purchasing the web font version of your custom font, you’ll receive a zip file containing the font files. Locate the downloaded file, usually found at the bottom of your browser window (or in your browser’s download section). Double click on the file to “unzip’ and reveal the font files inside.
Step 3: Upload Font Files into the Showit Builder
- Log in to your Showit account.
- Click on the “Media Library” option and then select “Upload Files.”
- Find the folder that contains the custom font you want to add and click on the web font version (usually labeled with “WOFF” in the filename). This will upload the font to your Showit media library.
Step 4: Add the Custom Font to your Website’s Design Settings
With the font successfully uploaded into your Showit media library, go to the “Design Settings” section (top left of the builder).
Navigate to the “Fonts” tab, and you’ll see an option labeled “Library WOFF.”
- Click on the dropdown menu and select the custom font you just added to your media library.
- Once you’ve selected the custom font, give it a recognizable name. For example, if you chose to use the italic version of the font, you could name it “[font name] Italic.” Being specific with the name will be helpful if you decide to add other versions of the same font later.
- Once you’ve named the font, click on the “Add Custom Font” button and then hit “Save.”
Step 5: Apply the Custom Font to Your Website’s Type Styles
Now that your custom font is added to Showit, you can start applying it to your website’s global (site-wide) design settings. Once again, open up the “Design Settings” section (top left of the builder).
Navigate to the “Site Style” tab. You’ll notice Showit provides the opportunity to designate four type styles: Title, Heading, Subheading & Paragraph
- Determine which of the four type styles to apply your custom font. Click on that tab (or it’s corresponding preview text to the right) to begin editing that type style.
- On the left side of the window, chose your custom font from the font drop down menu.
- Click “Save” on the bottom right of the window to lock in that font to that specific type style, which will now be reflected across your entire website where that type style is used.
There you have it! Five quick steps covering how to easily add a custom font to your Showit website. Give yourself a pat on the back – now you have a website that will stand apart from others with a font that is unique to you!
Your first step to a website you deserve. Download now and let us walk you through the baby steps (yes even the scary techy stuff!).
Pre-Website Homework Checklist for the Beauty Industry
Other Free Resources
